Making Beeswax Wraps
Making Beeswax Wraps
Making Beeswax Wraps
Looking for an alternative to plastic wrap or plastic bags for sandwiches? I think I found out how to make an alternative! Making beeswax wraps could be the very activity to make coverings and wraps that you can use in your kitchen or for lunches. You can roll them up to store them or lay them flat, when not in use.
Benefits of Beeswax Wraps
They are reusable, compostable (believe it or not!) and they work to keep food fresh! You can use them for possibly a year. Keep in mind they are NOT microwavable, and you should only wash in cool water. Full disclosure, it takes a little practice to make these and they might not come out perfect. But, it is a fun and useful activity, none the less!
Making beeswax wraps is kind of a messy process, so review all the steps and prepare fore you start. Start by washing and drying the fabric you choose. I did not finish the edges, I just left the edges unfinished, removing any strings. You may trim the fabric at the end.
Let’s Get Started!
Cut the fabric into 12 inch or smaller squares, depending on what you are covering. 12 inch works great for sandwiches and small sizes work great for bowls. If you can cut perfect circles, circular covers may work well for covering leftovers or sourdough ferments. Five ounces of wax will cover about 4-5 pieces of material.
Iron fabric to remove the wrinkles and creases on the fabric. Place one piece of fabric on a dehydrator tray, lining each tray with parchment paper. The tex-flex material may work and come clean for you (that come with the Excalibur trays) but I’m not sure I’d like to have beeswax flavored remnants left behind. Therefore, using parchment can’t hurt.
The Heating Process
Warm dehydrator to 155 degrees for best results.
Sprinkle beeswax onto the fabric, relatively thin. It covers more than you think. The beeswax will melt and you will even out the wax with the disposable brush.
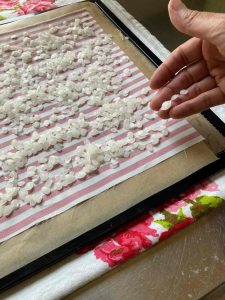
Place into the dehydrator for about 40 minutes if on 155 degrees. Alternatively, you may use an oven at 170 for 7 minutes until melted. The dehydrator works great because of its size and ease, but takes a little longer and I can prep more than one piece of fabric at a time. If it is easier to use your oven, go for it!
Once the wax is melted, quickly smooth over all of the areas with old paint brush and put back into the heat to remelt for a couple more minutes. Then, remove the parchment and hang from at least 2 corners, to allow to continue to dry.
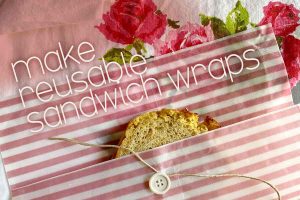
Once fabric has dried (maybe an hour or 2), you may add a button and twine to act as a closure. When you fold the fabric around the sandwich, its possible pieces of wax may fall off. It’s a little messy, but still remains flexible and usable for several months to a year.

sandwich wrap option with button and twine
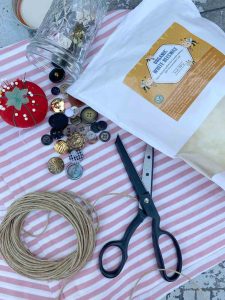
Material and equipment you will need:
1 yard (or as much as you want for wraps or bowl coverings) of 100% cotton fabric, cut into 10″ or 12″ squares
5 ounces or more of beeswax, grated or pellets… I like the shredded/grated beeswax as it melts faster
Parchment paper
Fabric ideas
Dehydrator and the trays that go with it
Small paint brush (optional) – a cheap one you don’t mind tossing, to help spread the wax
Iron (if using the iron method)
Clips for hanging the wraps – I like hang it up on my clothesline and use clothespins or small clips to help them dry.
Weck Jars for storing
Gardening gloves (these are awesome)
Ok lets say you don’t want to make wraps..you could buy them here
Try these seeds that are non-GMO, heirloom and organic!
Day to day inspiration:
Audio Bible or other leather options!
Hard-covered Spirit-Filled Life Bible
Really Great Living Commentary Hardcover
This is the online commentary, which is constantly being updated
Some links are affiliate links, which means I make a small commission at no extra cost to you. See more info here.
Looking for an alternative to plastic wrap or plastic bags for sandwiches? I think I found out how to make an alternative!